The Art of Hair Oiling: Your Ultimate Guide to Application Techniques, Scalp Massage & Best Practices for Indian Hair
BestIndian LuxuriesKey Takeaways: The Art of Application
- Follicular Focus: Massaging oil directly onto dry scalp skin ensures therapeutic botanical extracts directly hit follicle roots where vascular cellular activity is highest.
- Cuticular Lubrication: Applying a micro-dose of oil to dry ends creates a protective hydrophobic shield that minimizes mechanical tangling and daily environmental wear.
- The Rinsing Protocol: Applying mild, sulfate-free shampoo to oiled hair *before* soaking it completely simplifies the breakdown of excess lipids without dehydrating the cuticle matrix.
- The Master Tool: Deliver precision nutrition to your roots while achieving clean, non-greasy definition with the raw luxury of BestIndian™ Ultimate Hair Growth & Styling Oil.
Beyond Just Applying – The Art and Science of Effective Hair Oiling
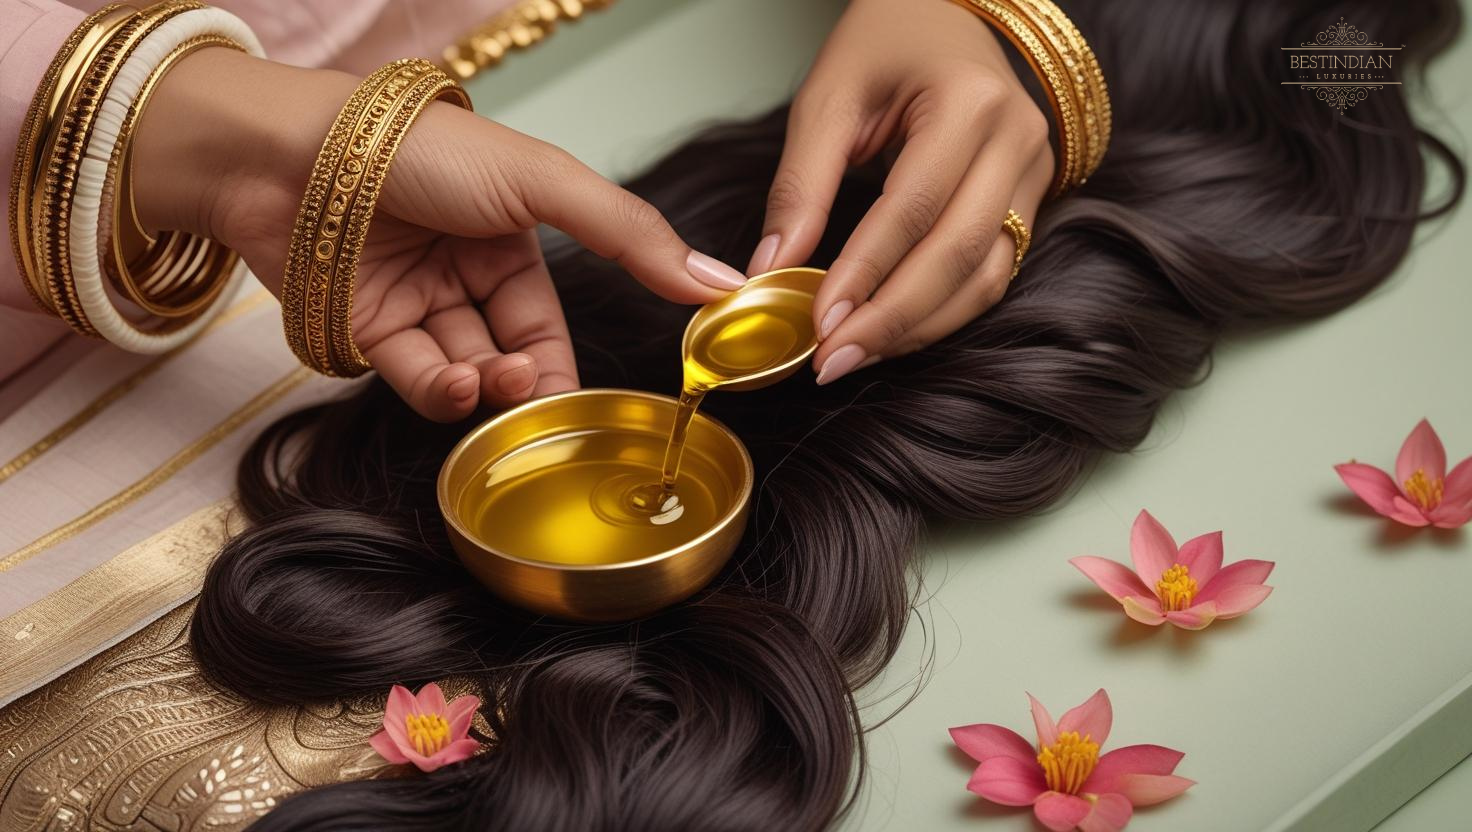
In India, "hair oiling" is more than a simple step in a hair care routine; it's an art form, a therapeutic ritual, and a practice steeped in centuries of tradition and wisdom. Many understand the inherent benefits of using a high-quality "Indian hair oil," but the true secret to unlocking its full potential—for robust hair growth, profound scalp health, and radiant shine—lies in the art and science of its application.
Simply slathering oil on your hair might provide some surface benefits, but mastering specific "hair oiling techniques" can significantly enhance absorption, stimulate the scalp, and transform the experience into a deeply effective treatment.
Guide Contents
-
1. Preparing for Your Oiling Ritual
Choosing elixirs, selecting wooden tools, and decoding the wet vs. dry application debate. -
2. Scalp Application & Shiro Abhyanga
Mastering the home technique of Ayurvedic head massage to accelerate blood circulation. -
3. Nourishing the Strands and Ends
How to lightly coat mid-lengths to lock in natural moisture and prevent split ends. -
4. Optimizing Contact Time and Durations
Navigating quick pre-shampoo conditioning boosts versus deep overnight treatments. -
5. Protocols for BestIndian™ Ultimate Oil
Bespoke guidelines for intense growth rejuvenation and high-gloss leave-on styling. -
6. Rinsing Post-Oiling Effectively
The emulsification technique to clarify excess oils without stripping structural lipids. -
7. The Future of Your Hair: Therapeutic Art
Transforming routine application into a clinical, soul-nourishing act of self-care. -
8. Frequently Asked Questions
Troubleshooting duration, wash protocols, and targeted growth application.
This comprehensive guide addresses the ubiquitous query: "how to use hair oil" or "how to apply hair oil" correctly for maximum results. We will delve into traditional Indian and Ayurvedic methods like Shiro Abhyanga (head massage), explore modern best practices for different needs like 'overnight hair oiling routines' and 'pre-shampoo oil treatments', discuss optimal duration (how long to leave hair oil in), and provide specific insights for using versatile formulations like BestIndian™ Ultimate Hair Growth & Styling Oil.
Prepare to elevate your oiling ritual from a routine task to a potent act of self-care, a journey further illuminated in our Best Indian Hair Oil: The Ultimate Guide.

Preparing for Your Hair Oiling Ritual: Setting the Stage for Success
Before you begin the application process, a few preparatory steps can significantly enhance the efficacy and experience of your hair oiling treatment. Setting the stage correctly ensures that your chosen oil can work its magic optimally.
Choosing Your Elixir – The Right Oil Matters
The foundation of any successful oiling ritual is, of course, the oil itself. As explored in our definitive guide to selecting the best Indian hair oil, your choice should be guided by your hair type, scalp condition, and specific concerns (e.g., hair fall, dandruff, dryness, or promoting growth). Opt for high-quality, natural, or Ayurvedic formulations rich in beneficial herbs and free from mineral oil or harmful synthetics.
Gathering Your Tools for a Luxurious Application
-
- Applicator Bottle: A bottle with a nozzle tip can make applying oil directly to the scalp much easier and less messy, ensuring even distribution at the roots.
- Small Bowl (for warming): If you plan to gently warm the oil.
- Wide-Toothed Comb: For detangling before oiling and for even distribution afterwards.
- Warm Towel / Shower Cap: To create a warm environment that can help with oil penetration after application, especially for deep conditioning or overnight treatments.
Hair Preparation: To Cleanse or Not Beforehand?
Traditional Approach:
Often, oil is applied to hair that is not freshly washed, allowing the oil to work on the natural scalp environment and also to pre-condition before shampooing. This is particularly true for intensive scalp treatments.
Modern Considerations:
If your hair has significant product buildup (from styling products, etc.), a very light cleanse or ensuring your hair is free from heavy residues might allow for better oil absorption. However, generally, oiling is done on dry or slightly damp, but not freshly shampooed and stripped, hair.
Detangling is Key:
Always gently detangle your hair with a wide-toothed comb before applying oil. This prevents further tangling during the massage and minimizes breakage. Start from the ends and work your way up to the roots.
Dry Hair vs. Damp Hair Application: What’s Best?
This is a common question ("apply oil on wet or dry hair"). Both methods have their proponents and rationale:
Applying Oil to Dry Hair (Traditional & Common):
This is the most common traditional method in India.
Pros:
Allows for better assessment of scalp condition, easier to section hair, oil may spread well on dry hair's natural lipid layer. Some believe it allows for deeper focus on scalp penetration.
Applying Oil to Slightly Damp Hair:
Pros:
Water can sometimes help certain oils spread more easily. Slightly damp hair has slightly lifted cuticles, which might aid in the initial absorption of some lighter oils or water-soluble components from herbal infusions. However, too much water can dilute the oil or create a barrier.
BestIndian™ Hair Oil Usage:
Apply it to damp hair for pre-blowdry treatment or styling, and to dry hair (scalp and lengths) for rejuvenation/oiling. This highlights its versatility.
Recommendation:
For intensive scalp treatments and traditional oiling aimed at deep nourishment and growth, application to dry hair is often preferred. For lighter styling or pre-conditioning before a wash, slightly damp hair can also work well.
The Gentle Art of Warming Your Hair Oil Safely
Gently warming your hair oil (e.g., by placing the oil bottle in a bowl of hot water for a few minutes – never microwave) can enhance the oiling experience and potentially its benefits:
Improved Absorption/Penetration:
Warm oil tends to have a slightly lower viscosity, which may aid its spread and penetration into the scalp and hair shaft.
Enhanced Scalp Circulation:
The warmth itself can further stimulate blood flow when combined with massage.
More Soothing & Relaxing:
Warm oil provides a more luxurious and therapeutic sensory experience.
Safety First:
Always test the temperature of the oil on your inner wrist before applying it to your scalp to ensure it's comfortably warm, not hot, to avoid burns. This addresses the "double boiling hair oil" interest carefully.
With these preparations, you're ready to begin the core ritual of applying your chosen hair oil for maximum impact.

The Heart of the Ritual: Mastering Scalp Application & Ayurvedic Massage (Shiro Abhyanga)
The true efficacy of a "hair oiling" ritual, especially when aiming to nourish roots, stimulate follicles for growth, or improve overall scalp health, lies in the meticulous application of oil directly to the scalp, ideally combined with a therapeutic Ayurvedic head massage known as Shiro Abhyanga. This practice is central to traditional Indian hair care and is designed to do much more than simply coat the hair.
Why Prioritize Scalp Application over Lengths?
The scalp is the living foundation from which hair grows. It houses the hair follicles, sebaceous glands, and a rich network of blood vessels that supply nutrients and oxygen. Applying oil directly to the scalp ensures that:
Follicles are Directly Nourished:
Beneficial compounds from the oil and infused herbs can be absorbed by the epidermis and potentially reach the vicinity of the hair follicle, supporting its health and function.
Scalp Conditions are Addressed:
Whether it's dryness, mild flakiness, or a need for balancing, the oil's properties can act directly on the scalp skin.
Circulation is Stimulated:
The massage itself, enhanced by the lubricating oil, boosts blood flow.
The Step-by-Step Technique of Shiro Abhyanga at Home
Shiro Abhyanga is a specialized form of Abhyanga (oil massage) that focuses on the head, neck, and shoulders. While a full Shiro Abhyanga by a trained therapist is a deeply therapeutic experience, you can incorporate its principles into your home oiling routine.
- Preparation: Ensure your chosen oil (ideally gently warmed, as discussed above) is ready. Sit in a comfortable, relaxed position.
- Sectioning the Hair: Part your hair into small sections using your fingers or a comb to expose the scalp. This allows for targeted oil application.
- Applying the Oil to the Scalp: Dip your fingertips into the warm oil (or use an applicator bottle) and apply it systematically all over your scalp – front to back, side to side, ensuring even coverage. Don't drench the scalp initially; apply enough for good slip during massage.
-
The Massage – Gentle Yet Firm Strokes:
- Begin with gentle circular motions using the pads of your fingertips (not nails) all over the scalp. This helps to spread the oil and begin stimulating the area.
- Increase pressure slightly, using rhythmic strokes. Traditional techniques often involve movements that follow the direction of hair growth or specific energy lines (nadis).
- Pay attention to specific areas like the crown (Adhipati Marma – a key Ayurvedic energy point), temples, and the base of the skull. Gentle pressure on these marma points can be particularly relaxing and beneficial.
- Vary your strokes: include gentle tapping (pecking), kneading, or friction strokes, always ensuring comfort.
- Duration: A dedicated scalp massage for 10-15 minutes is ideal to reap the full benefits. Even a 5-minute focused massage is beneficial if time is short.
The Biological Science Behind Scalp Massage Benefits
The advantages of scalp massage during oiling are well-recognized:
Enhanced Blood Circulation:
Numerous studies and traditional texts attest that massage improves local blood flow. This increased perfusion delivers more oxygen and vital nutrients to the hair follicles, essential for the energy-intensive anagen (growth) phase.
Improved Oil Penetration:
The combination of warmth (from the oil and friction) and massage can help the oil and its herbal actives penetrate the stratum corneum of the scalp more effectively, reaching closer to the hair follicles.
Relaxation and Stress Reduction:
Scalp massage is inherently relaxing, helping to reduce muscle tension in the head and neck. Since stress is a known contributor to hair fall, this stress-reducing effect is a significant indirect benefit for hair health.
Exfoliation & Follicle Decongestion:
Gentle massage can help to loosen dead skin cells and debris from the scalp surface, preventing clogged follicles.
Distribution of Sebum:
Can help distribute natural scalp oils down the hair shaft, which is beneficial for those with dry hair.
Mastering the art of scalp application and Ayurvedic massage transforms your "hair oiling technique" from a simple routine into a potent therapeutic ritual, laying the groundwork for healthier scalp, stronger roots, and ultimately, more vibrant hair growth. This is a key step in harnessing the power of your hair oil.

Nourishing the Strands: Applying Oil to Hair Lengths and Ends
While scalp health is paramount for new growth and root strength, applying oil correctly to the lengths and ends of your hair is crucial for maintaining the health, integrity, and beauty of existing hair. This step helps to protect, condition, and impart shine, especially important if you are also seeking solutions for "hair oil for dry hair" or frizz.
Purpose of Oiling Hair Lengths:
Conditioning & Softening:
Oils coat the hair shaft, smoothing the cuticle and imparting softness and manageability.
Protection from Damage:
The oil film acts as a barrier against environmental stressors (sun, pollution) and reduces mechanical damage from combing and styling by providing lubrication.
Moisture Retention & Frizz Control:
By sealing the cuticle, oils help hair retain internal moisture and prevent excess atmospheric moisture from causing frizz.
Improving Shine:
A smoother cuticle surface reflects light more evenly, leading to a healthier sheen.
Preventing Split Ends (Trichoptilosis):
By moisturizing and protecting the ends, which are the oldest and most vulnerable part of the hair, oiling can help prevent them from splitting.
Technique for Application to Lengths and Ends:
-
- After Scalp Application: Once your scalp is thoroughly oiled and massaged, take a small additional amount of oil in your palms.
- Warm Between Palms: Rub your palms together to warm and evenly distribute the oil.
- Gentle Application: Starting from the mid-lengths of your hair, gently glide your oiled palms down towards the ends. Avoid tugging or pulling. For longer hair, you can work in sections.
- Focus on Ends: Pay particular attention to the ends, as they are typically the driest and most prone to damage. Gently scrunch or work the oil into the tips.
- Avoid Over-Oiling Roots (if scalp is already oily): If you have an oily scalp but dry ends (combination hair), you might focus this step primarily on the mid-lengths and ends, using very little, if any, additional oil near the roots that have already been treated during the scalp massage.
Using a Wide-Toothed Comb for Even Distribution (Optional):
After applying oil to the lengths, you can very gently run a wide-toothed comb through your hair. This helps to:
-
- Distribute the oil more evenly along each strand.
- Detangle any minor knots that may have formed, reducing the need for forceful combing later. Be extremely gentle, especially if your hair is prone to breakage when oiled.
Proper application to the hair strands ensures that the protective and conditioning benefits of your chosen hair oil are maximized, leaving your hair feeling nourished, smooth, and looking its best from root to tip. This complements the scalp-focused benefits aimed at promoting "hair growth" and controlling "hair fall."

Optimizing Contact Time: How Long Should You Leave Hair Oil In?
A frequent question among those embracing hair oiling is, "How long should I leave hair oil in for the best results?" The optimal duration can indeed vary based on your hair type, the specific oil being used, the concerns you're addressing (e.g., deep conditioning, scalp treatment, or "overnight dandruff treatment"), and traditional Ayurvedic recommendations. Understanding these nuances helps you tailor the "contact time" to maximize benefits.
The Quick Pre-Shampoo Treatment (5-30 Minutes)
Purpose:
This shorter application, often referred to as a "pre-shampoo oil treatment" or "oiling before shampoo," primarily aims to protect the hair shaft from the potential stripping effects of surfactants during washing, especially if using a conventional shampoo. It also provides a light dose of conditioning and can help to loosen scalp debris.
Benefits:
Reduces hygral fatigue (damage from hair swelling and shrinking with water), minimizes protein loss during washing, makes hair easier to detangle post-shampoo, and imparts a subtle softness and shine. A 5-10 minute application for this purpose, is recommended.
Who it's for:
Suitable for all hair types, especially if you're short on time or have fine hair that can get weighed down by very long oil treatments. It's also a good option for those who wash their hair frequently.
Intensive Nourishment & Scalp Treatment (1-2 Hours)
Purpose:
To allow deeper penetration of the oil's nourishing compounds into the hair shaft (for oils like coconut) and more significant absorption of herbal bioactives by the scalp and hair follicles. This duration is often recommended for addressing concerns like dryness, damage, promoting hair growth, or intensive scalp therapy.
Benefits:
More profound conditioning, improved hair elasticity, better scalp health, and enhanced delivery of therapeutic herbal components. Many Ayurvedic treatments involve leaving medicated oils on for at least this duration.
Enhancing Penetration:
Covering your hair with a warm towel or a shower cap during this time can create a warm, moist environment that may help to gently lift the hair cuticles and improve oil absorption.
The Deep Purity Power of Overnight Oiling Routine
Purpose:
This traditional Indian practice allows for the maximum possible contact time, aiming for deep, intensive nourishment, repair, and therapeutic action on the scalp and hair follicles. It’s highly favored for significant concerns like hair fall, promoting robust growth, or treating very dry/damaged hair or scalp conditions.
Benefits:
Deepest conditioning and moisturization, maximum opportunity for bioactive compounds to exert their effects, often resulting in exceptionally soft, manageable, and healthy-looking hair. Users often search for "benefits of oiling hair overnight."
Considerations:
Ensure you protect your pillowcase with an old towel or a silk/satin cap. Choose an oil that is suitable for your scalp type for prolonged contact (e.g., very heavy oils might not be ideal for extremely oily or acne-prone scalps if left overnight without proper cleansing). Thoroughly washing out the oil in the morning with a gentle shampoo is crucial.
Factors Influencing Ideal Duration:
Hair Type & Porosity:
Fine or low-porosity hair might absorb less oil or become weighed down more easily, so shorter durations or lighter oils might be preferred for frequent treatments. Coarse, thick, dry, or high-porosity hair often benefits immensely from longer oiling sessions.
Oil Type:
Lighter, more penetrative oils might show benefits with shorter contact, while thicker, coating oils or those with potent herbal infusions might need longer to work their magic.
Specific Concern:
An intensive repair treatment for damaged hair will benefit from longer contact than a quick pre-shampoo conditioning boost.
Ayurvedic Recommendations:
Traditional Ayurvedic texts often recommend specific durations for oil application based on dosha imbalances and the nature of the medicated oil (taila) being used.
Ultimately, whether you opt for a quick pre-wash treatment or an intensive overnight session, consistency is key. Listening to your hair's response will help you determine the "hair oiling process" and duration that yields the best results for your unique needs.

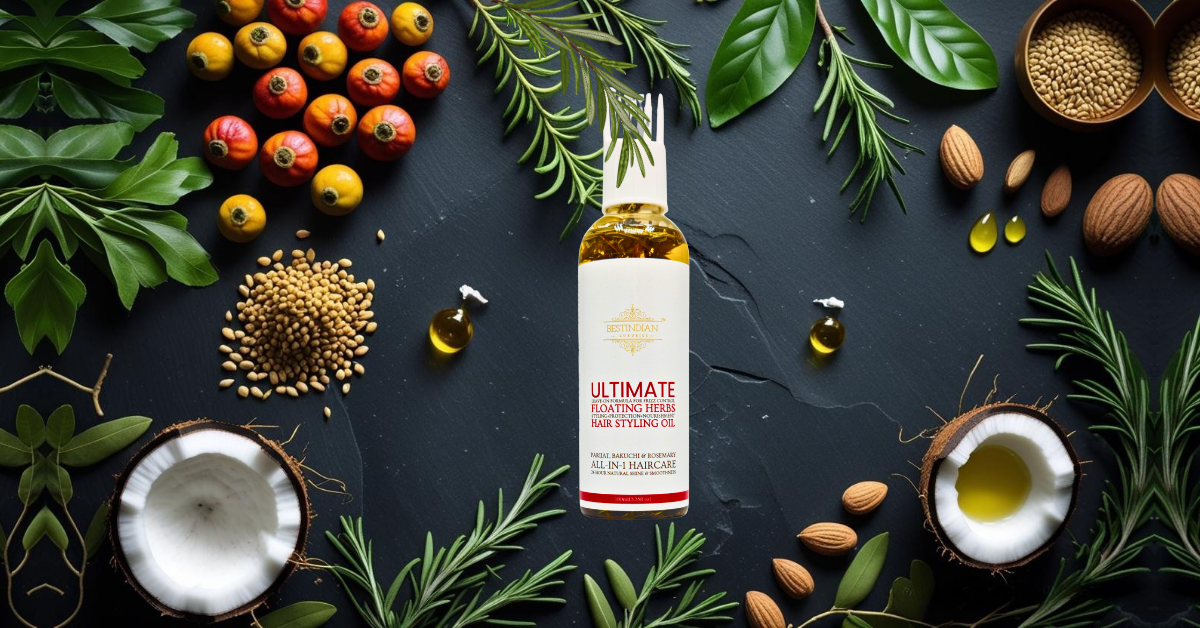
Specific Application Protocols for BestIndian™ Ultimate Hair Growth & Styling Oil
The BestIndian™ Ultimate Hair Growth & Styling Oil is uniquely versatile, designed not only as a potent treatment for hair rejuvenation and growth but also as an effective natural styling accessory. Understanding how to use it for its different intended purposes will help you unlock its full spectrum of benefits. The following protocols are derived directly from the product's usage guidelines.
Protocol A: Intensive Rejuvenation, Repair, and Growth
This is the traditional, deep-acting application method for harnessing the oil's full therapeutic potential for hair fall control, promoting healthier hair growth, and providing intense nourishment to dry or damaged hair and scalp.
- Applying the Oil: Begin by sectioning your dry hair to ensure easy access to the scalp. Apply a generous amount of BestIndian™ Hair Oil directly to your scalp, working methodically from front to back and side to side. Once the scalp is covered, work the remaining oil through the lengths of your hair, paying particular attention to the ends. Use your fingertips to gently but firmly massage the oil into your scalp for 5-15 minutes, using circular motions. This improves blood circulation, promoting scalp health and aiding the oil's penetration. For even distribution through the hair strands, you can use a wide-toothed comb.
- Allowing Absorption & Action: Leave the oil on your hair for at least one hour to allow the potent herbal actives and nourishing oils to penetrate deeply. For a more intensive and transformative treatment, it is ideal to leave it on overnight. You can cover your hair with a shower cap or a soft towel to enhance penetration through gentle warmth and to protect your pillowcase.
- Washing and Conditioning: To wash out the oil, use a gentle, preferably sulfate-free shampoo like the BestIndian™ Ultimate Conditioning Shampoo, which is designed to cleanse effectively while maintaining moisture. You may need two lathers to remove all oil residues. Follow with a conditioner if your hair requires additional detangling or smoothing, though the BestIndian™ Hair Oil itself has conditioning properties.
Frequency:
Oiling the hair once or twice a week is generally advised for this intensive treatment. However, if your hair is particularly dry, damaged, or you are focusing on significant hair fall control, you might apply it more often initially, adjusting as your hair's condition improves.

Protocol B: Lightweight Styling Accessory and Leave-On Shield
The lightweight, non-greasy finish of BestIndian™ Hair Oil makes it an exceptional natural styling product.
For an All-Over Naturally Shiny, Frizz-Free Look:
Its unique "leave-on" formula provides frizz-free, silky hair perfect for a naturally polished appearance. Apply a few drops from mid-lengths to ends on damp or dry hair.
For a Sleeked-Back Look:
Apply a slightly more generous amount to the roots, mid-lengths, and ends. Massage into the scalp with fingertips for uniform distribution and then style as desired.
For Other Hairstyles (Volume & Control):
Apply sparingly from the mid-lengths to the ends of your hair, avoiding direct root application if you want to maintain maximum lift and volume at the crown. This will provide smoothness, shine, and tame flyaways.
As a Pre-Shampoo Treatment (Quick Nourishment & Protection):
Apply the oil from mid-lengths to ends, leave for 5-10 minutes, then shampoo and condition as usual. This helps protect hair from moisture loss during washing.
As a Pre-Blowdry Treatment (Heat Protection & Smoothness):
Apply a few drops to clean, damp hair from mid-lengths to ends before blow-drying. This helps to boost smoothness, prevent frizz, increase shine, and provides a degree of protection from heat.
In Your Daily Styling Routine (Frizz Prevention & Texture Enhancement):
Apply to damp hair to protect from frizz as it air dries, enhancing its natural texture with a subtle shine.
For Frizz and Flyaway Prevention (Finishing Touch):
Use a very small amount (a drop or two rubbed between palms) to smooth down styled hair, focusing on ends and any areas prone to frizz or flyaways.
To Refresh Hairstyle Between Washes:
Apply a drop or two to mid-lengths and ends to revive shine, add moisture, and tame any errant strands.
When to Use for Optimal Benefits:
- For Intensive Rejuvenation: Preferably before bed as an overnight treatment, 1-2 times a week or as needed.
- For Styling: Any time of day or night, on damp or dry hair, to achieve desired smoothness, shine, and frizz control.
This versatility makes BestIndian™ Hair Oil a truly "all-in-1 haircare" solution, catering to both deep treatment needs and daily styling finesse.
Rinsing Out Hair Oil Effectively: The Gentle Approach
After allowing your chosen hair oil, such as the BestIndian™ Ultimate Hair Growth & Styling Oil, ample time to nourish your scalp and hair, the next crucial step is to rinse it out effectively. The goal is to remove excess oil and prevent any greasy residue or potential pore-clogging on the scalp, without stripping away all the beneficial lipids and conditioning elements that have just been imparted. A gentle yet thorough approach is key.
Why Proper Rinsing Matters:
Avoiding Greasiness & Buildup:
Leaving excessive oil residues can make hair look limp and greasy, and potentially attract more dirt. On the scalp, unremoved oil could, in some cases, contribute to clogged follicles.
Maximizing a Clean Feel:
While nourishment is desired, you also want your hair and scalp to feel clean and refreshed post-wash.
Preventing Irritation:
Some very heavy oils, if left on certain scalp types for too long without proper cleansing, could potentially cause minor irritation for some individuals.
The Challenge: Effective Cleansing Without Stripping Benefits:
The primary challenge is to find a cleansing method that effectively emulsifies and removes the bulk of the applied oil while leaving behind a subtle nourishing layer and not undoing all the benefits of your oiling ritual by using an overly harsh shampoo.
Recommended Rinsing Techniques:
The "Shampoo on Dry/Oiled Hair First" Technique (Often Most Effective):
- Before stepping fully under the shower, while your hair is still heavily oiled, take a moderate amount of a mild, preferably sulfate-free shampoo (like the BestIndian™ Ultimate Conditioning Shampoo).
- Apply this shampoo directly onto your oiled scalp and hair.
- Begin to gently massage and emulsify the shampoo with the oil already present in your hair, adding only a tiny splash of water if needed to help it spread. The shampoo's surfactants will start to bind with the oil.
- Once you've worked it through, then step under lukewarm water and lather as usual. This method often helps the shampoo break down the oil more efficiently.
Double Cleansing (If Necessary):
- For very heavy oil applications or if using thicker oils, a single shampoo application might not be enough.
- In such cases, a gentle double cleanse is recommended. The first shampoo will primarily work to lift the bulk of the oil, and the second (often requiring less product) will ensure a thorough cleanse of the scalp and hair. Always use a mild, non-stripping shampoo for both washes.
Focus on the Scalp:
Concentrate your shampooing efforts on the scalp to remove oil and any loosened debris. The suds running down the lengths of the hair are usually sufficient to cleanse them without direct, aggressive scrubbing of the strands.
Thorough Rinsing with Lukewarm Water:
Ensure all traces of shampoo and emulsified oil are completely rinsed from your hair and scalp. Lukewarm water is ideal, as very hot water can be stripping, while very cold water might not effectively remove all oil residues. A final rinse with slightly cooler water can help seal the cuticles.
Choosing the Right Shampoo for Post-Oiling Cleansing:
As mentioned, a gentle, sulfate-free, pH-balanced shampoo is crucial. Harsh shampoos will negate the nourishing effects of your oiling treatment by stripping away beneficial lipids along with the excess oil. The BestIndian™ Ultimate Conditioning Shampoo, being sulfate-free and designed to complement the oil, is an ideal choice.
By following these gentle yet effective rinsing techniques, you ensure that your hair and scalp emerge clean, refreshed, and deeply nourished, having retained the maximum benefits from your Indian hair oiling ritual.

Transforming Hair Oiling from a Task into a Therapeutic Art
The ancient Indian practice of hair oiling, when approached with understanding and mindful technique, transcends a mere grooming task to become a profoundly therapeutic and beautifying art form.
As this comprehensive guide has illustrated, the "how-to" of applying hair oil—from preparing your hair and scalp, mastering massage strokes like those in Shiro Abhyanga, optimizing contact time for deep nourishment or quick treatments like "pre-shampoo oiling," to rinsing effectively—is as crucial as the quality of the oil itself in unlocking its manifold benefits for hair growth, strength, scalp health, and radiant shine.
By embracing these traditional and scientifically-informed "hair oiling techniques," you are not just applying a product; you are engaging in a ritual of self-care that nurtures your hair from root to tip, calms the mind, and connects you with a rich heritage of natural wellness.

Understanding the nuances of application for different oils, like "how to apply rosemary oil to hair" for growth or adapting for an "overnight hair oiling routine," empowers you to personalize this ritual for maximum efficacy.
The versatility of a premium formulation like BestIndian™ Ultimate Hair Growth & Styling Oil further enhances this art, offering tailored application protocols for both intensive rejuvenation and effortless daily styling. When you combine such a high-quality, natural elixir with the right application methods, you create a powerful synergy that can truly transform the health and appearance of your hair.
We encourage you to adopt these practices, transforming your hair oiling sessions from a simple routine into a cherished, effective, and luxurious ritual. Discover the art of application with BestIndian™ Ultimate Hair Growth & Styling Oil and witness the profound difference it makes.
Frequently Asked Questions: Mastering Your Hair Oiling Ritual
Should I apply hair oil to wet or dry hair for therapeutic growth?
For intensive follicle rejuvenation, traditional Ayurvedic practice dictates applying oil to completely dry hair. This allows a precise assessment of the scalp skin and avoids a water barrier from blocking lipid-soluble botanical infusions from penetrating follicular roots. Lighter styling applications can be lightly glided over clean, damp strands.
How long should I leave hair oil in for maximum results?
The optimal duration depends heavily on user goals. A quick 5-30 minute pre-shampoo conditioning treatment is excellent for protecting the strands from surfactant dehydration. For structural repair and follicle stimulation, leaving complex herbal blends like BestIndian™ in for 1-2 hours or as an overnight hair oiling routine provides total cellular integration.
Why is double boiling recommended when heating up traditional oils?
Gently warming the bottle inside a bowl of hot water lowers lipid viscosity, making application incredibly easy and less messy. Direct microwaving must be avoided as uneven high temperatures break down delicate secondary plant metabolites (phytochemicals) and risk thermal burns to delicate scalp tissue.
What is the most effective way to wash out heavy hair oils without stripping hair?
The gold standard method is applying a gentle, sulfate-free cleanser directly to the heavily oiled, dry roots *before* turning on the shower stream. Massaging the shampoo into the natural protective layer emulsifies the excess fats cleanly, allowing you to wash away grime with lukewarm water while locking in biological moisture.